Introduction
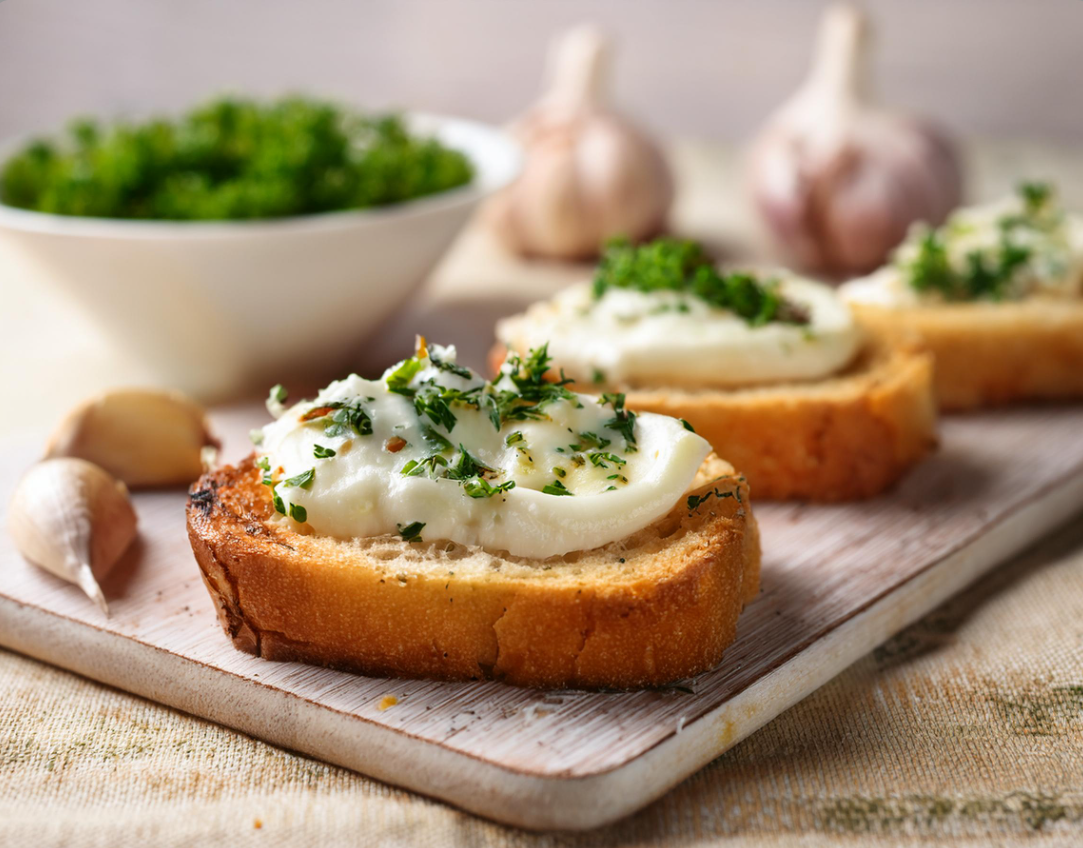
Greek yogurt garlic bread is a delightful twist on the classic favorite, offering a tangy and flavorful upgrade. This recipe combines the simplicity of traditional garlic bread with the creamy richness of Greek yogurt, creating a soft, chewy texture that’s both satisfying and unique.
Whether you’re serving it as a side dish, appetizer, or snack, Greek yogurt garlic bread is quick and easy to prepare, requiring minimal ingredients and effort. The tangy flavor from the yogurt perfectly complements the savory garlic and buttery crust, making it a standout addition to any meal. Perfect for pairing with soups, salads, or pasta, this bread is sure to become a new household favorite!
Why Make Greek Yogurt Garlic Bread?
Greek yogurt garlic bread is not only delicious but also offers a unique twist on the traditional version. Here’s why it’s worth trying:
 Healthier Alternative to Traditional Garlic Bread
Using Greek yogurt brings a range of nutritional benefits:
- High in Protein: Greek yogurt adds a boost of protein, making this garlic bread more satisfying.
- Lower in Fat: Substituting some of the butter or cream with Greek yogurt reduces the overall fat content while maintaining a rich, creamy texture.
- Probiotic Benefits: Greek yogurt contributes gut-friendly probiotics, adding a healthful element to this indulgent treat.
Quick and Easy to Prepare
This recipe simplifies the process without sacrificing flavor:
- Minimal Ingredients: You only need a handful of staples like Greek yogurt, garlic, butter, and bread.
- Simple Method: The dough or spread comes together quickly, and the baking time is minimal.
- Versatile Uses: Serve as an appetizer, snack, or side dish to complement soups, salads, or main courses.
With its tangy flavor, soft texture, and easy preparation, Greek yogurt garlic bread is a must-try recipe that balances indulgence with nutrition!
Ingredients for Greek Yogurt Garlic Bread
This recipe for Greek yogurt garlic bread is simple yet flavorful, using a few core ingredients with optional add-ins to customize your bread to your liking.
Core Ingredients
These essentials form the foundation of the garlic bread:
- Greek Yogurt: Adds tanginess, moisture, and a protein boost.
- Flour: All-purpose flour or whole wheat flour works as the base for the dough.
- Garlic: Freshly minced garlic for a robust flavor, or garlic powder for convenience.
- Butter: Melted butter for brushing on the bread and enhancing its richness.
- Salt: Enhances the overall flavor.
- Baking Powder: Helps the dough rise and creates a soft, fluffy texture.
Optional Add-Ins
Enhance the flavor and presentation with these additional ingredients:
- Herbs: Fresh parsley, rosemary, or thyme for an aromatic touch.
- Grated Cheese: Parmesan, mozzarella, or cheddar for a cheesy, savory upgrade.
- Chili Flakes: Add a spicy kick for those who enjoy a bit of heat.
- Olive Oil: Use as an alternative to butter for a lighter version or to mix with herbs and garlic for brushing.
With these ingredients, you can create a tangy, flavorful Greek yogurt garlic bread that’s versatile and delicious. Customize it with your favorite add-ins to suit your taste!
Step-by-Step Instructions
Making Greek yogurt garlic bread is a simple and rewarding process. Follow this comprehensive guide to create a delicious and tangy bread that’s perfect for any occasion.
Preparing the Dough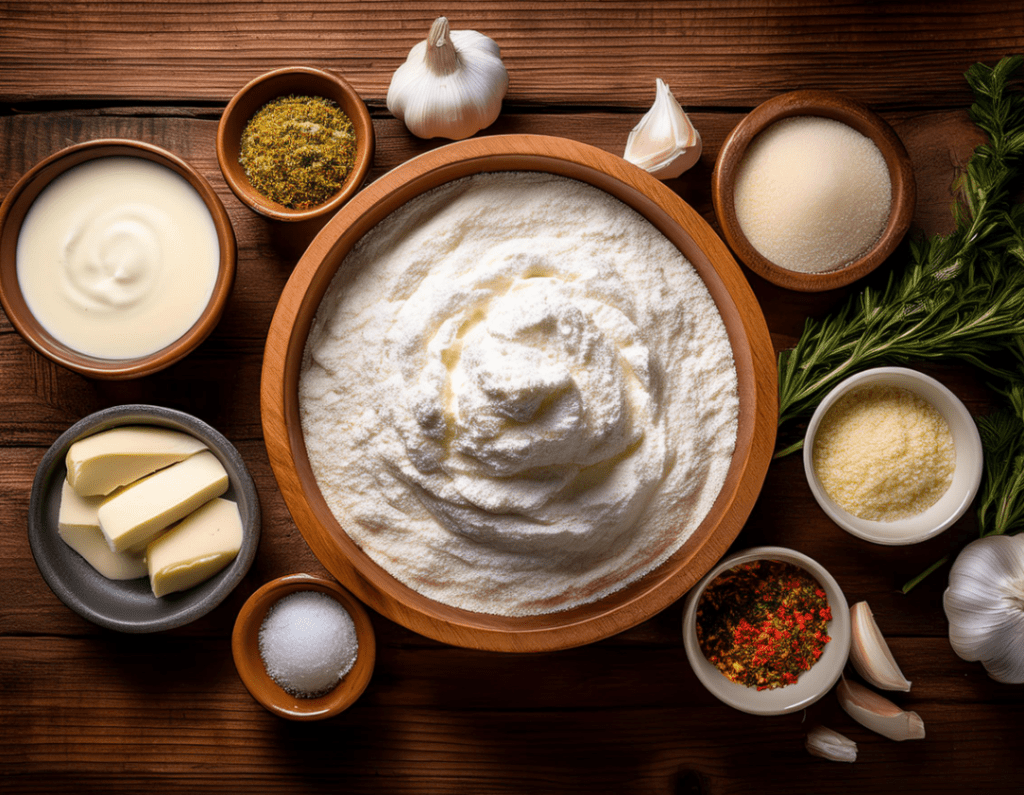
Start by making the dough, which serves as the base of the garlic bread:
- Combine Dry Ingredients:
- In a mixing bowl, combine 2 cups of all-purpose flour, 2 teaspoons of baking powder, and ½ teaspoon of salt. Mix well.
- Add Greek Yogurt:
- Gradually add 1 cup of Greek yogurt to the dry ingredients. Stir with a spatula until the mixture starts to form a dough.
- Knead the Dough:
- Transfer the dough to a floured surface and knead gently for 2-3 minutes until it’s smooth and elastic. If the dough is sticky, add a little more flour as needed.
Shaping and Adding Garlic Butter
Shape the dough and prepare the garlic butter topping:
- Roll Out the Dough:
- Divide the dough into equal portions or keep it as one piece, depending on your preferred serving size. Roll it out into a flat, oval or rectangular shape about ½ inch thick.
- Prepare the Garlic Butter:
- Melt 3 tablespoons of butter in a small bowl and mix with 2-3 minced garlic cloves and optional herbs like parsley or rosemary.
- Brush the Dough:
- Generously brush the surface of the dough with the garlic butter mixture, ensuring even coverage. Sprinkle with grated cheese or chili flakes for added flavor if desired.
Baking to Perfection
Bake the bread to achieve a soft interior and golden-brown crust:
- Preheat the Oven:
- Preheat your oven to 375°F (190°C) and line a baking sheet with parchment paper.
- Bake the Bread:
- Place the dough on the prepared baking sheet and bake for 15-20 minutes, or until the edges are golden brown and the center is cooked through.
- Finish with More Garlic Butter:
- Remove the bread from the oven and immediately brush with any remaining garlic butter for an extra layer of flavor.
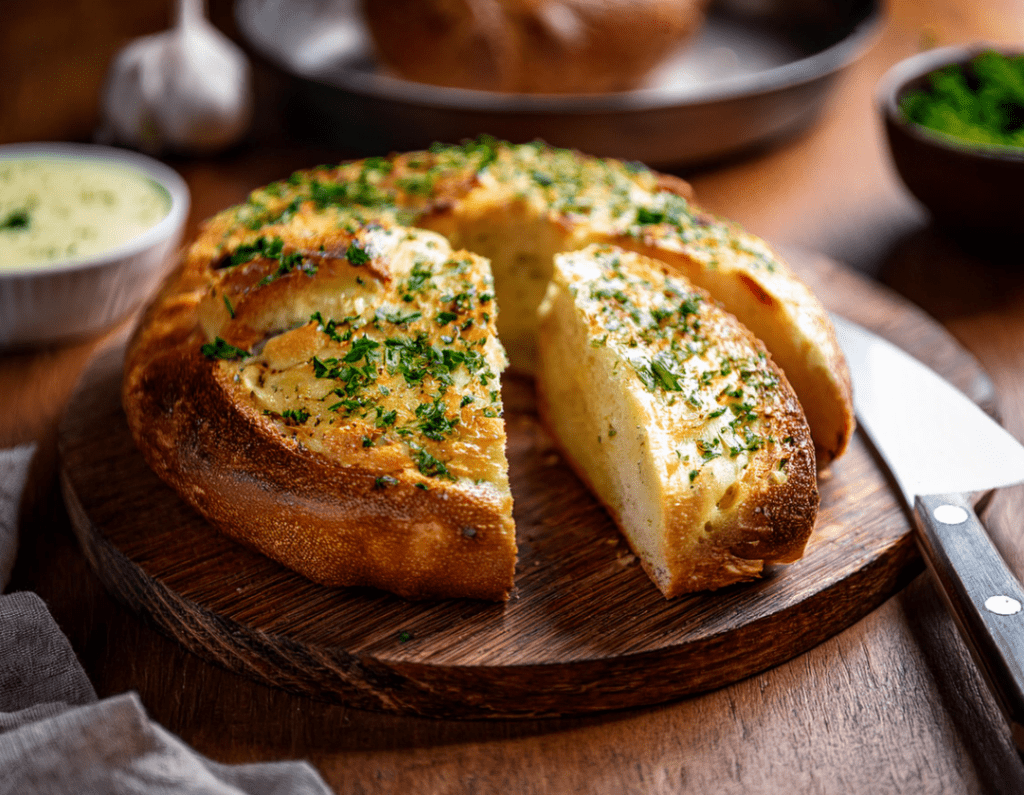
Serve your Greek yogurt garlic bread warm as a side dish, appetizer, or snack. Its soft texture and tangy garlic flavor are sure to impress!
Tips for the Best Greek Yogurt Garlic Bread
Creating the perfect Greek yogurt garlic bread requires attention to detail and a few expert tips. These will help you achieve the best texture and flavor every time.
Achieving the Right Texture
The texture of the bread is key to its success:
- Balance the Dough Consistency:
- The dough should be soft but not sticky. If it’s too wet, gradually add more flour, a tablespoon at a time, until it’s workable.
- Don’t Overknead:
- Knead the dough gently just until it comes together. Overkneading can make the bread tough.
- Monitor Baking Time:
- Keep an eye on the bread as it bakes. Remove it from the oven as soon as the edges turn golden to avoid drying it out.
Enhancing the Flavor
Take your garlic bread to the next level with these flavor-boosting ideas:
- Add Fresh Herbs:
- Mix chopped parsley, rosemary, or thyme into the garlic butter for an aromatic twist.
- Incorporate Spices:
- Sprinkle the dough or garlic butter with paprika, chili flakes, or garlic powder for extra depth of flavor.
- Use a Cheese Blend:
- Combine grated parmesan, mozzarella, and cheddar for a cheesy, savory topping that complements the tangy yogurt.
- Finish with Olive Oil:
- Drizzle a little olive oil over the baked bread for a glossy finish and added richness.
By focusing on the texture and experimenting with flavors, you can create Greek yogurt garlic bread that’s soft, flavorful, and irresistibly delicious. Perfect for any occasion!
Variations of Greek Yogurt Garlic Bread
Greek yogurt garlic bread is a versatile recipe that can be adapted to suit different preferences and dietary needs. Here are some creative variations to try:
 Gluten-Free Version
Make this garlic bread accessible for those with gluten sensitivities:
- Use Gluten-Free Flour:
- Replace regular flour with a gluten-free all-purpose flour blend that includes xanthan gum for structure.
- Adjust Liquids:
- Gluten-free flours may absorb liquids differently, so adjust the yogurt quantity as needed to achieve a soft dough.
- Monitor Baking Time:
- Gluten-free versions may bake slightly faster, so keep an eye on the bread to prevent overbaking.
Cheesy Garlic Bread
Add a gooey, savory twist to your garlic bread:
- Incorporate Cheese in the Dough:
- Mix shredded parmesan or mozzarella directly into the dough for cheesy bites throughout.
- Cheesy Topping:
- Sprinkle a generous layer of shredded cheese, such as cheddar or a mozzarella-parmesan blend, on top before baking.
- Double Cheese Finish:
- Add an extra sprinkle of cheese during the last 2-3 minutes of baking for a golden, bubbly topping.
Spicy Garlic Bread
Turn up the heat for a bold and flavorful variation:
- Add Chili Flakes to the Butter:
- Mix a pinch of red chili flakes or cayenne pepper into the garlic butter for a spicy kick.
- Spicy Dough:
- Add a dash of paprika or chili powder to the dough for subtle warmth.
- Serve with Spicy Dips:
- Pair with a side of spicy marinara or a sriracha-infused aioli for added heat.
These variations allow you to customize Greek yogurt garlic bread to match your taste, making it a versatile addition to your recipe collection!
Serving Suggestions
Greek yogurt garlic bread is a versatile dish that can be enjoyed in a variety of ways. Here are some ideas to make the most of this flavorful bread:
As a Side Dish
Complement your meals with this tangy, garlic-infused bread:
- Pair with Soups:
- Serve alongside creamy tomato soup, hearty minestrone, or a comforting chicken noodle soup for a satisfying combination.
- Add to Salads:
- Enjoy with a crisp Caesar salad, Greek salad, or roasted vegetable salad to balance the freshness with savory flavors.
- Accompany Pasta Dishes:
- Perfect with classic spaghetti, creamy alfredo, or baked ziti, this garlic bread adds an irresistible touch to pasta nights.
As a Snack or Appetizer
Serve Greek yogurt garlic bread as a standalone treat or with dips:
- Pair with Marinara Sauce:
- Dip warm slices into a rich, tangy marinara for a simple yet satisfying snack.
- Serve with Tzatziki:
- The tanginess of Greek yogurt in both the bread and the dip creates a harmonious and refreshing flavor profile.
- Try with Hummus:
- Spread creamy hummus or roasted red pepper dip on the bread for a Mediterranean-inspired appetizer.
These serving ideas make Greek yogurt garlic bread a versatile and delicious addition to any meal or gathering!
Storing and Reheating
Properly storing and reheating Greek yogurt garlic bread ensures that it retains its flavor and texture, even as leftovers. Here are the best practices for refrigerating, freezing, and reheating:
Refrigerating
- Cool Completely:
- Allow the bread to cool completely before storing to prevent condensation and sogginess.
- Wrap or Store in Airtight Container:
- Wrap the bread tightly in aluminum foil or place it in an airtight container to maintain freshness.
- Refrigeration Timeframe:
- Store in the refrigerator for up to 3 days for the best quality.
Freezing
- Wrap Individually:
- For easier reheating, slice the bread and wrap each piece individually in plastic wrap or foil.
- Store in a Freezer Bag:
- Place the wrapped slices in a freezer-safe bag and remove as much air as possible before sealing.
- Freezing Timeframe:
- Freeze for up to 2 months. Label the bag with the date for reference.
Reheating
- In the Oven:
- Preheat the oven to 350°F (175°C). Wrap the bread in foil to retain moisture and bake for 10-15 minutes until warmed through. For a crispier crust, remove the foil during the last few minutes.
- In a Skillet:
- Heat a skillet over medium heat and warm the bread slices for 2-3 minutes on each side for a toasty texture.
- In the Microwave:
- Place a slice on a microwave-safe plate and cover it with a damp paper towel. Microwave for 20-30 seconds to warm, though this method may slightly soften the crust.
By following these tips, you can enjoy Greek yogurt garlic bread that’s just as delicious as when it was freshly made!
Frequently Asked Questions
Here are answers to common queries about Greek yogurt garlic bread and its unique ingredients:
Why Is 2-Ingredient Dough Healthy?
Two-ingredient dough, typically made with Greek yogurt and self-rising flour, is considered healthy because:
- High in Protein: Greek yogurt provides a protein boost, making it more filling and nutritious than traditional dough.
- Lower in Fat: It eliminates the need for butter or oil, reducing the overall fat content.
- Minimal Ingredients: Its simplicity means fewer additives and processed ingredients compared to store-bought options.
Can You Use Greek Yogurt Instead of Yeast?
Yes, Greek yogurt can act as a substitute for yeast in certain bread recipes. Combined with baking powder, it helps dough rise and achieve a soft, airy texture. While it won’t replicate the exact flavor of yeast bread, it’s a quicker and easier alternative.
Why Does Greek Yogurt Work in Bread?
Greek yogurt works in bread recipes because:
- Moisture: It adds moisture to the dough, resulting in a soft and tender texture.
- Tangy Flavor: The slight tang of Greek yogurt enhances the overall taste of the bread.
- Leavening Boost: Its acidity reacts with baking powder or soda to help the dough rise.
What Is the Effect of Greek Yogurt in Baking?
Greek yogurt enhances baked goods by:
- Improving Texture: It adds creaminess and tenderness to bread, cakes, and muffins.
- Adding Protein: Its high protein content makes baked goods more nutritious.
- Reducing Fat: Greek yogurt can replace some or all of the butter or oil in recipes, creating a lighter result.
Greek yogurt’s versatility makes it an excellent ingredient for baking, especially in flavorful recipes like garlic bread!
Discover Similar Recipes
If you love Greek yogurt garlic bread, explore these similar recipes from Yum Express Recipes for more delicious inspiration:
- Chimney Cake: The Sweet Spiral Delight: A caramelized spiral pastry that pairs sweetly with savory dishes like garlic bread.
- Steak, Egg, and Cheese Bagel: The Ultimate Breakfast Sandwich: A hearty breakfast option to enjoy alongside flavorful garlic bread.
- High-Protein Cottage Cheese Eggs Recipe: A nutritious and protein-rich dish that complements this tangy bread.
- Earl Grey Cookies: Subtle, tea-infused cookies for a sweet finish to a meal featuring garlic bread.
- Milky Cocoa: A Creamy Chocolate Indulgence: A warm and comforting drink to balance the savory richness of garlic bread.
Visit the Yum Express Recipes home page to find more delightful dishes and ideas to complement your meals!
Conclusion
Greek yogurt garlic bread is a simple, versatile recipe that combines tangy flavors with a soft, chewy texture. Its ease of preparation and use of wholesome ingredients make it a healthier alternative to traditional garlic bread, without compromising on taste. Perfect as a side dish, snack, or appetizer, this bread fits seamlessly into any meal.
Whether you keep it classic or customize it with cheese, herbs, or spices, Greek yogurt garlic bread is sure to become a favorite in your kitchen. Give this recipe a try and enjoy a flavorful twist on a timeless dish!

