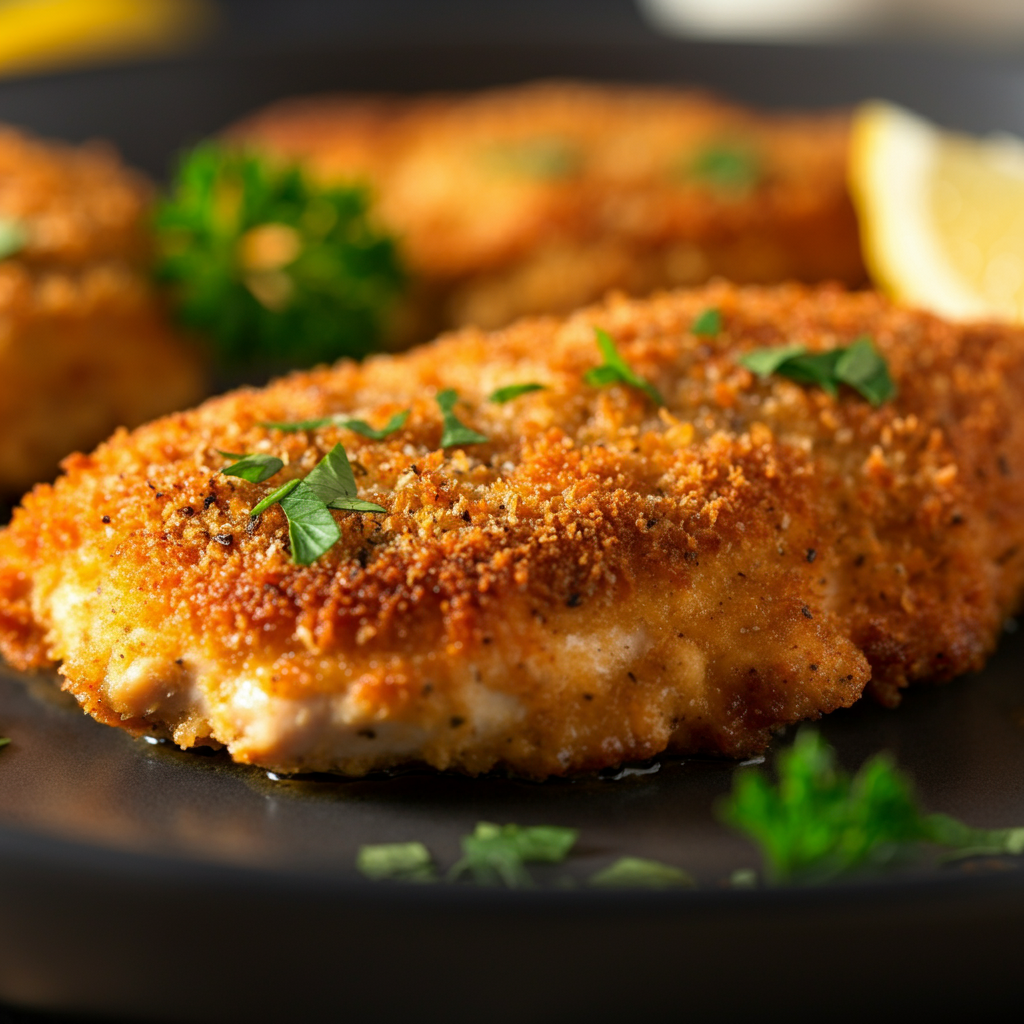
Who doesn’t love a meal that’s crispy on the outside, juicy on the inside, and yet guilt-free? Enter baked chicken cutlets—a dish that checks all the boxes. Whether you’re craving some comfort food or trying to impress your dinner guests without the mess of frying, these golden cutlets are your answer. But how do you make them the perfect combo of savory goodness while avoiding common pitfalls? Don’t worry—you’re about to find out. Sit back and relax. By the time you finish reading this, you’ll practically hear the crunch of that first bite.
Understanding Baked Chicken Cutlets
What Are Chicken Cutlets?
First off, what exactly are chicken cutlets? Simply put, they’re thin slices of chicken breast. You may think of them as the lean, no-nonsense cousin of chicken nuggets. Their flat shape cooks quicker and evenly, making them the ideal candidate for baking. The beauty of chicken cutlets is that they’re like a blank canvas—ready to soak up whatever flavor profile you throw their way. Want to go Mediterranean with oregano and lemon? Done. Feeling spicy with cayenne and paprika? No problem. Think of them as the chameleon of the chicken world. 🎨🍗
“Chicken cutlets bring you the convenience of quick cooking without compromising on taste or nutrition.”
 Why Baking Is a Healthier Option
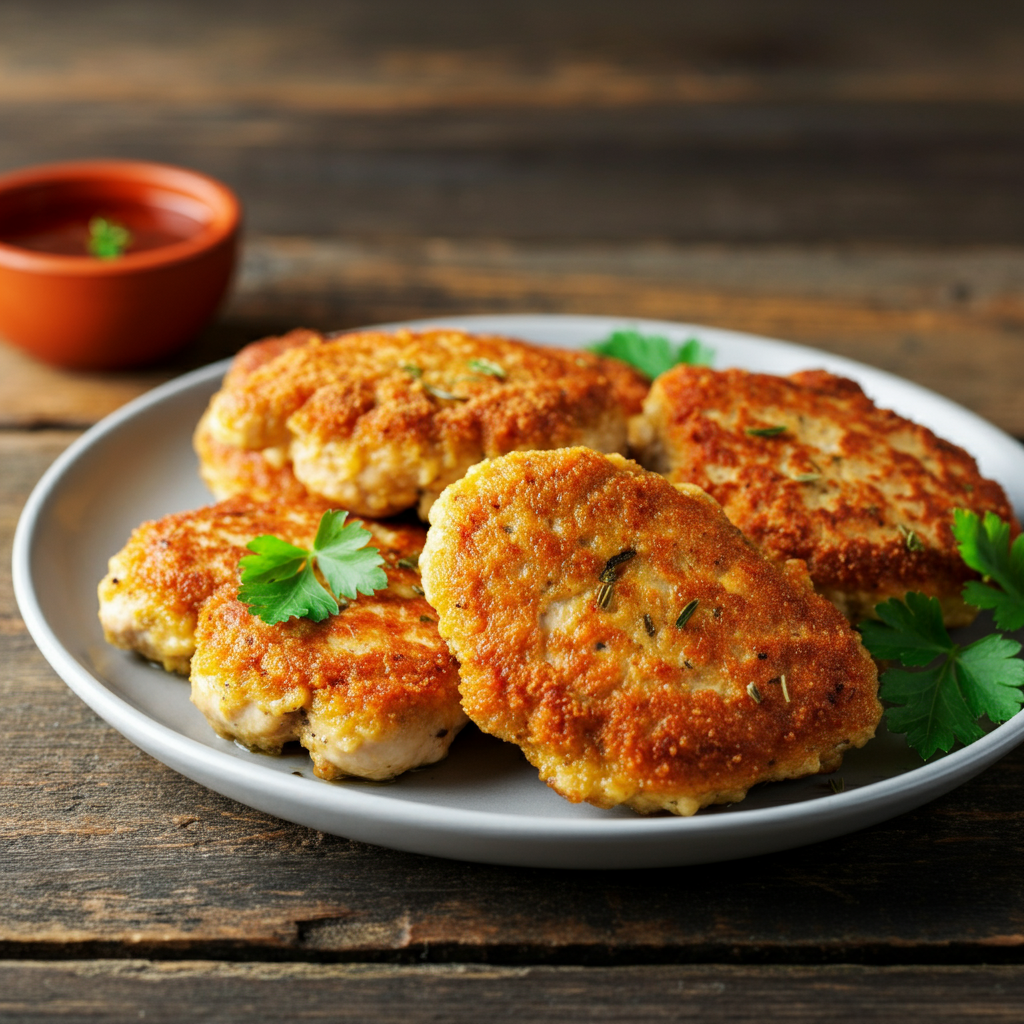
Now, why bake them instead of frying? Sure, fried food has that irresistible crunch, but it comes at a cost—extra oil, extra calories, and, honestly, extra cleanup. With baking, you get to skip the oil bath and still achieve a fantastic crunch…if you do it right. It’s like getting the best of both worlds—your taste buds are happy, and so is your heart.
When you bake chicken cutlets, the magic happens in the oven’s even heat. The chicken cooks without soaking up unnecessary grease, and if you coat them properly, they get that golden, crispy exterior we all crave. Plus, less oil on your plate means more room for dipping sauces, right?
“Think of baking as the secret handshake between health and flavor—you can have both without sacrificing one for the other.” 🧑🍳✨
And hey, not only is it healthier, but it’s also no-mess and no-fuss. How many times have you hovered over a deep fryer, dodging oil splashes like you’re in some action movie? Baking is a calm and controlled process, more like a stroll in the park than a chaotic sprint.
Ingredients Needed for Baked Chicken Cutlets
Selecting the Best Chicken Cuts
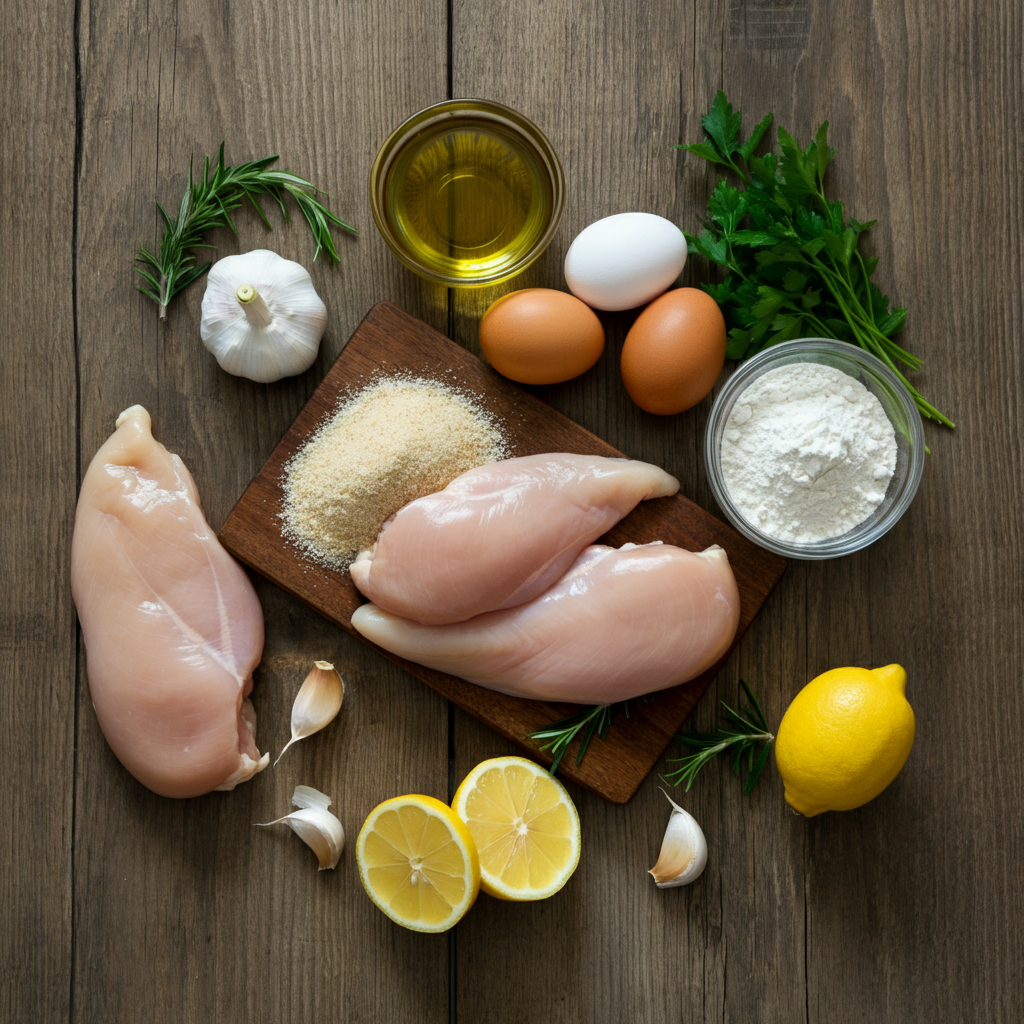
Now that we’ve established why you’re baking these gems, you’ve got to start with the star of the show—chicken cutlets. Not all chicken is created equal, though. You’ll want to look for fresh, skinless, boneless chicken breasts. If you don’t find pre-cut cutlets at your store, don’t worry. Grab those chicken breasts, and with a sharp knife, carefully slice them in half horizontally to create two even, thinner pieces. Voilà, you’ve made your own cutlets!
Oh, and a quick tip? Thinner means better! Thinner cutlets cook faster and are less likely to dry out. You don’t want them to turn into chewy rubber, trust me.
Essential Seasonings and Coatings
This is where the fun starts. Your chicken might be the star, but the seasonings and coating are like a supporting cast that steals the spotlight. What do you need?
- Breadcrumbs (panko if you want extra crunch)
- Flour (just a light dusting for that professional finish)
- Eggs (the glue that holds everything together)
Seasonings? Oh, the more the merrier. Garlic powder, onion powder, smoked paprika, a pinch of salt, black pepper—you name it. Spices are like tiny flavor ninjas, sneaking in and delivering that satisfaction with every bite. 🧂✨
Thinking of leveling up? Add some Parmesan to the breadcrumbs. Parmesan brings an extra layer of umami richness that’ll make folks ask, “What’s your secret?” Trust me, tell them, or don’t—it’s up to you.
 Optional Add-ins for Extra Flavor
Feel like going above and beyond? You can mix lemon zest into the breadcrumbs for a citrusy kick or toss in some dried herbs like parsley, thyme, or even rosemary. Picture this as accessorizing—sometimes simple is chic, but other times, you just gotta wear the funky earrings. 😉
“The beauty of baked chicken cutlets is their versatility. You can keep them classic or jazz them up with a flavorful twist—it’s your kitchen, your rules.”
Step-by-Step Guide to Baking Chicken Cutlets
Alright, now for the main event! You’ve got all your ingredients lined up, and your chicken cutlets are ready to shine. It’s time to walk through the process step by step. Don’t worry—I’ve got your back the whole way!
Prepping the Chicken
First things first—prep, prep, prep! Think of this as building the foundation for a sturdy house. You don’t just slap things together and hope for the best, right?
Start by patting your chicken cutlets dry with a paper towel. Why? Because a dry surface helps everything stick better. It’s like trying to tape something onto a wet surface—it’s just not going to hold! Once dry, season them lightly with salt and pepper on both sides. These subtle seasoning strokes create a base that the rest of the flavors can build on.
“Preparing chicken is all about starting with care—when you treat the basics right, the rest will fall into place.”
 Bread Crumb Coating Tips
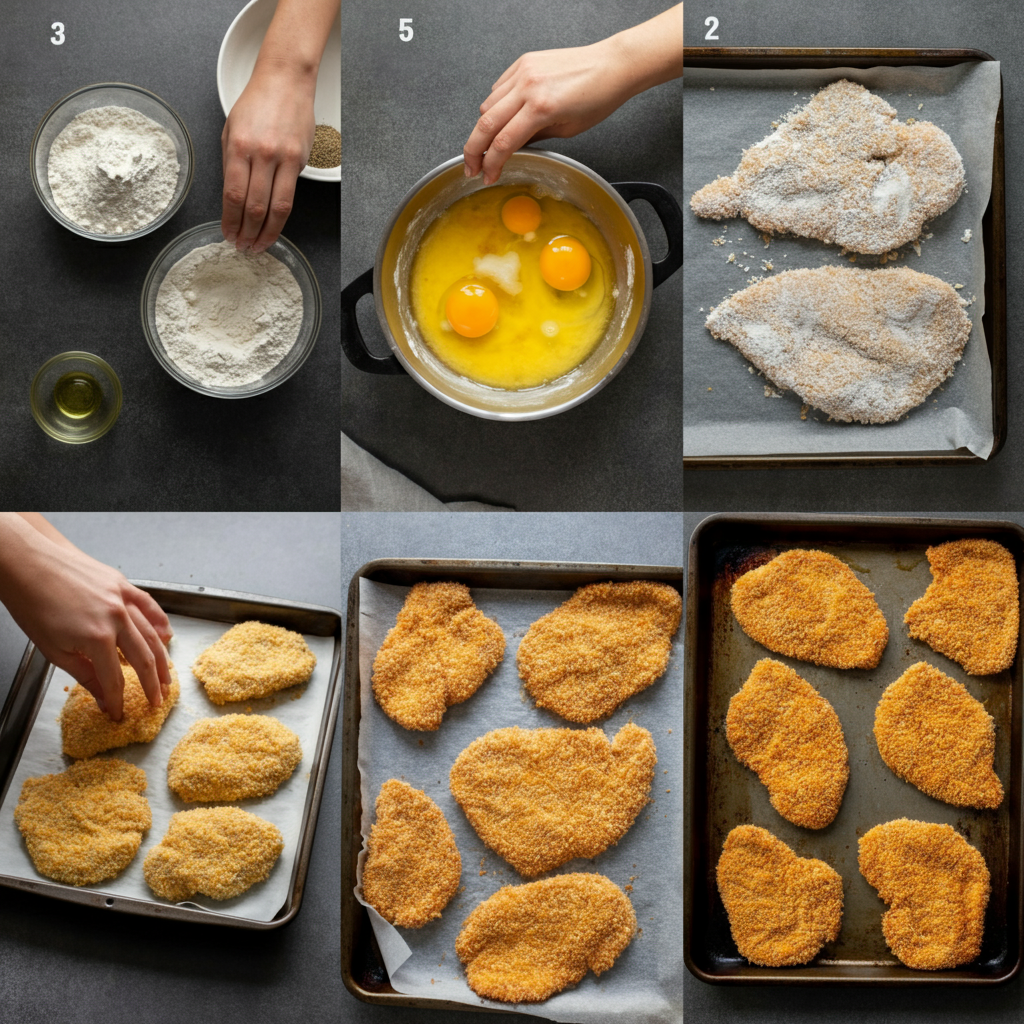
Now comes the fun part—the coating! You’ll need three shallow dishes or bowls for this process. Think of it as your chicken cutlets going on a little spa treatment.
- Flour: Lightly coat each chicken piece in flour. Be sure to shake off the excess. The flour acts as a primer, helping the next layers stick even better.
- Egg Wash: Dunk the floured cutlets into a whisked egg mixture. Make sure the entire surface gets coated. This is the glue that holds the final layer in place.
- Breadcrumbs: Finally, press the cutlets into a mixture of breadcrumbs (and Parmesan, if you’re feeling fancy). Don’t just sprinkle the crumbs—press them in gently, like you’re tucking them into a cozy blanket.
Pro tip? Use one hand for the dry steps and the other for the wet steps. Otherwise, you’ll find yourself wearing half of the coating by the time you’re done.
Setting Up the Baking Process
Once you’ve got your beautifully breaded chicken, it’s time to bake. Preheat your oven to 400°F (200°C). While the oven heats up, grab a baking sheet and line it with parchment paper. Not only does parchment paper prevent sticking, but it also makes cleanup a breeze.
Optional but highly recommended—place a wire rack over the parchment. Lifting the chicken off the surface allows air to circulate around it, ensuring even cooking. This small trick can be the difference between a slightly soggy bottom and crisp perfection.
“Think of that wire rack like giving your chicken cutlets a VIP seat in the oven, ensuring they’re cooked to crispy, golden glory!” ✨🍗
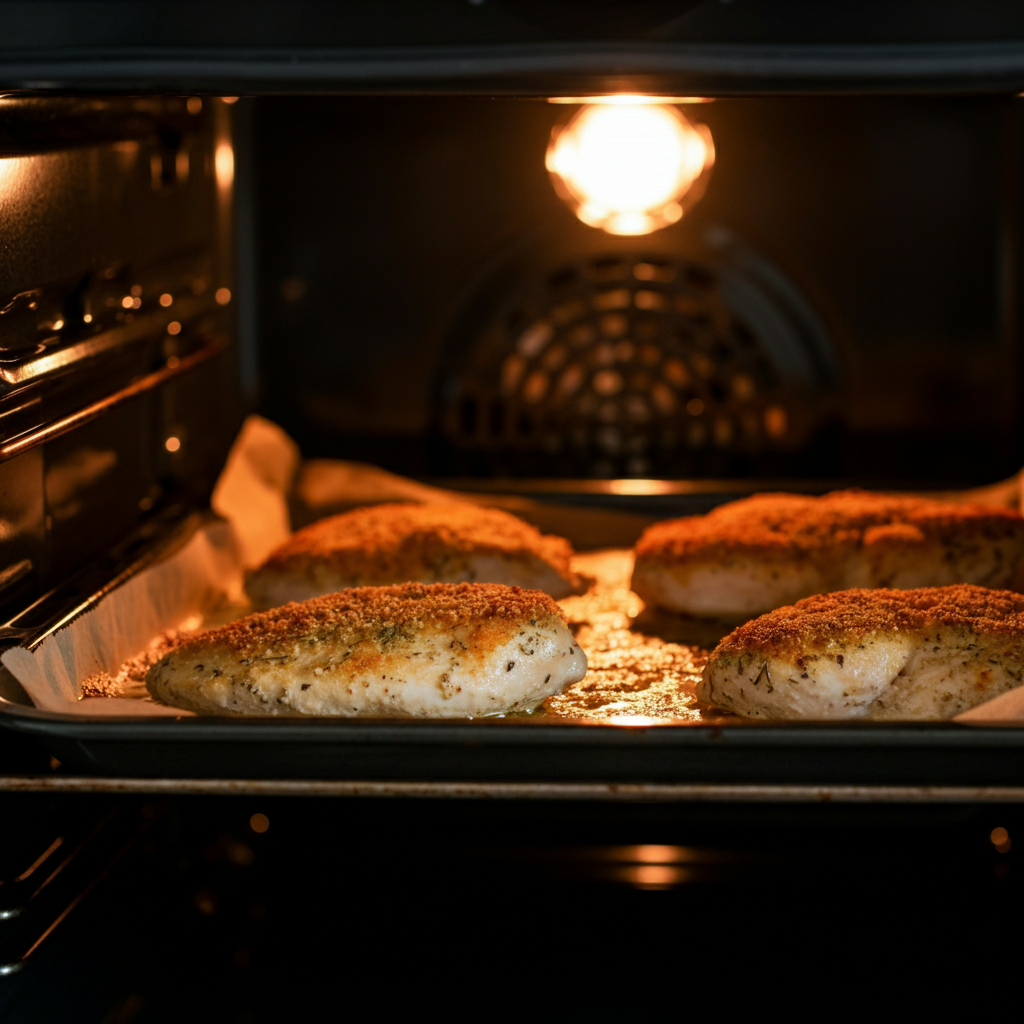
Brush or spray the cutlets lightly with oil before placing them in the oven. This step gives them that golden, crunchy exterior without frying. Bake for about 20-25 minutes, flipping the cutlets halfway through. You’ll know they’re done when they’re a beautiful golden brown and a meat thermometer reads an internal temperature of 165°F (74°C).
And there you have it. Freshly baked, golden, crispy chicken cutlets that are literally begging to be devoured. 😍
 Common Mistakes and How to Avoid Them
Even with the best intentions, things can go wrong in the kitchen. But don’t worry—learning to sidestep common mistakes can turn any culinary mishap into a triumph.
Preventing Dry Chicken Cutlets
One major fear? Dry chicken. Nobody wants to feel like they’re chewing on a cardboard strip. The key to preventing this is all in the preparation and timing.
- Thin, even cutlets: Uneven thickness in your chicken means uneven cooking. The thinner sections will dry out before the thicker ones cook through. If your cutlets look uneven, place them between two pieces of plastic wrap and give them a gentle pound with a rolling pin. You’re aiming for uniform thickness.
- Watch the bake time: Don’t overthink it! Overbaking is the fastest way to zap all the juicy goodness. Set a timer, and use an instant-read thermometer to check for doneness.
“Overcooking is like taking the life out of your chicken—it might still work, but where’s the joy in that?”
Ensuring Even Cooking
Ever bite into a cutlet only to find the middle slightly underdone? Yikes. To dodge this, consistency is your best friend.
- Wire rack: Remember that VIP wire rack setup? It’s not just for show. By raising the chicken, you allow heat to envelop it from all angles, avoiding any hot or cold spots.
- Flip halfway: Turning the pieces halfway through the bake ensures both sides get equal love. Plus, it gives you the chance to check on their progress.
Here’s another tip—never overcrowd the baking sheet. 🛑 If you cram everything too close together, you’re basically asking for soggy cutlets. Leave space so the hot air can circulate freely.
“Treat your cutlets like royalty—give them enough space to shine, and they’ll return the favor with crispy perfection.” 👑🍴
And that’s it! Tackle these common pitfalls, and you’ll be one step closer to mastering baked chicken cutlets like an absolute pro. Get ready for compliments to roll in because this meal is about to become a crowd favorite. 👏
Variations on Baked Chicken Cutlets
Okay, so now that you’ve mastered the basics, it’s time to spice things up—literally! The beauty of baked chicken cutlets lies in their versatility. It’s like having a plain white tee in your wardrobe—you can dress it up, down, or add your unique flair.
Gluten-Free and Keto Options
If you’ve got dietary restrictions (or guests who do), no worries—you can easily adapt your recipe. For gluten-free chicken cutlets, swap out traditional breadcrumbs for gluten-free ones or even crushed gluten-free crackers. Want to keep things low-carb or keto-friendly? Use crushed pork rinds or almond flour instead of breadcrumbs. Trust me, the crunch is still there, and the flavor? Oh, it’s next level. 🥳
Pro tip? Add a pinch of garlic powder or Italian seasoning to these substitutes to elevate the taste. You don’t want your coating tasting bland—it should sing with flavor!
Incorporating Herbs and Cheeses
Now, if you’re looking to add a gourmet twist, herbs and cheese are your secret weapons. Try mixing fresh parsley or basil into the breadcrumbs for a garden-fresh vibe. Even better, sprinkle in shredded Parmesan or Asiago cheese—this adds a nutty richness that will have everyone asking, “Where did you learn to cook like this?”
Want even more indulgence? Try stuffing your cutlets with mozzarella and sun-dried tomatoes before breading. When you cut into them, the gooey cheese center oozes out like a little love letter to your taste buds. 😍
“Variations are like giving your baked chicken cutlets a personality makeover—they’re still the same at heart but with an extra wow factor.”
Pairing Ideas for Baked Chicken Cutlets
Now that your cutlets are ready, what do you serve them with? After all, even the best main course needs a stellar supporting cast.
Best Side Dishes for a Balanced Meal
Baked chicken cutlets are incredibly versatile, so the pairing possibilities are almost endless. For a classic, comforting vibe, go with creamy mashed potatoes or oven-roasted veggies. Think broccoli, carrots, or asparagus—they bring color and balance to your plate. 🍽️
Feeling like something lighter? Slide these cutlets onto a fresh, zesty salad. Maybe some greens with cherry tomatoes, cucumbers, and a balsamic vinaigrette. It’s like a dance of flavors on your taste buds—crispy meets crisp, savory meets refreshing.
Oh, and don’t forget pasta! A side of spaghetti tossed in olive oil, garlic, and Parmesan makes a perfect partner. It’s like they were made for each other.
Sauces and Dips to Complement the Flavor
Now, here’s where you can elevate your meal from “yum” to “OMG.” A good sauce is like a killer accessory—it ties the whole outfit together.
- Classic marinara gives you that Italian vibe.
- Creamy garlic aioli adds a luxurious touch.
- And for those who crave a little heat, a spicy sriracha mayo will hit the spot! 🔥
“Pairing the right sauce with your baked chicken cutlets is like finding the perfect playlist—it sets the tone for an unforgettable experience.”
Feeling creative? Make a honey mustard glaze or a tangy barbecue dip—these flavors are next-level delicious and easy to whip up at home.
Storing and Reheating Baked Chicken Cutlets
Have leftovers? (Psst…that’s the best part!) But here’s the deal—nobody likes soggy chicken. Follow these tips, and your cutlets will taste just as amazing the second time around.
Proper Storage Tips
First, allow the cutlets to cool completely before storing them. This prevents condensation, which can make them soggy. Place them in an airtight container or wrap them tightly with plastic wrap and foil. Keep them in the fridge if you’re planning to eat them in the next 2-3 days.
Got extra cutlets you want to save for later? Freeze them! Lay them out on a baking sheet first to freeze individually, then transfer them to freezer-safe bags. This way, they won’t clump together, and you can grab as many as you need.
Reheating Without Losing Flavor
Reheating fried or baked food the wrong way is like trying to bring a deflated balloon back to its full glory—it rarely works. But don’t worry, there’s a trick you need to know.
For the best results, reheat your chicken cutlets in the oven. Preheat to 375°F (190°C), place the cutlets on a wire rack or a baking sheet, and heat them for about 10-12 minutes. This method brings back the crunch while keeping the inside juicy.
Avoid the microwave at all costs—trust me, you’ll regret it. Microwaving turns these cutlets into sad, rubbery versions of their former selves.
“Treat your leftovers like a treasure and reheat them with care—because great food deserves a second showtime.” 🎬🍗
And there you have it! Variations to shake things up, pairings to make your meal unforgettable, and tips to make sure nothing goes to waste. With these ideas in your back pocket, your baked chicken cutlets are ready to take center stage at every meal. All that’s left is to dig in and enjoy every bite. Bon appétit! 🤩

