Have you ever tried making an angel food cake and ended up with more of a devil’s mess? 😅 Don’t worry, you’re definitely not alone. Baking can be a bit of an adventure. But, like all journeys, the tools you use can make or break the experience. If you want a fluffy, cloud-like slice of heaven, having the right pan is non-negotiable. Welcome to the world of angel food cake pans—where perfect baking meets simple yet innovative design! 🍰
Before we jump into the specifics, let’s explore what makes these pans so special and why they deserve a spot in your kitchen arsenal.
What Is an Angel Food Cake Pan?
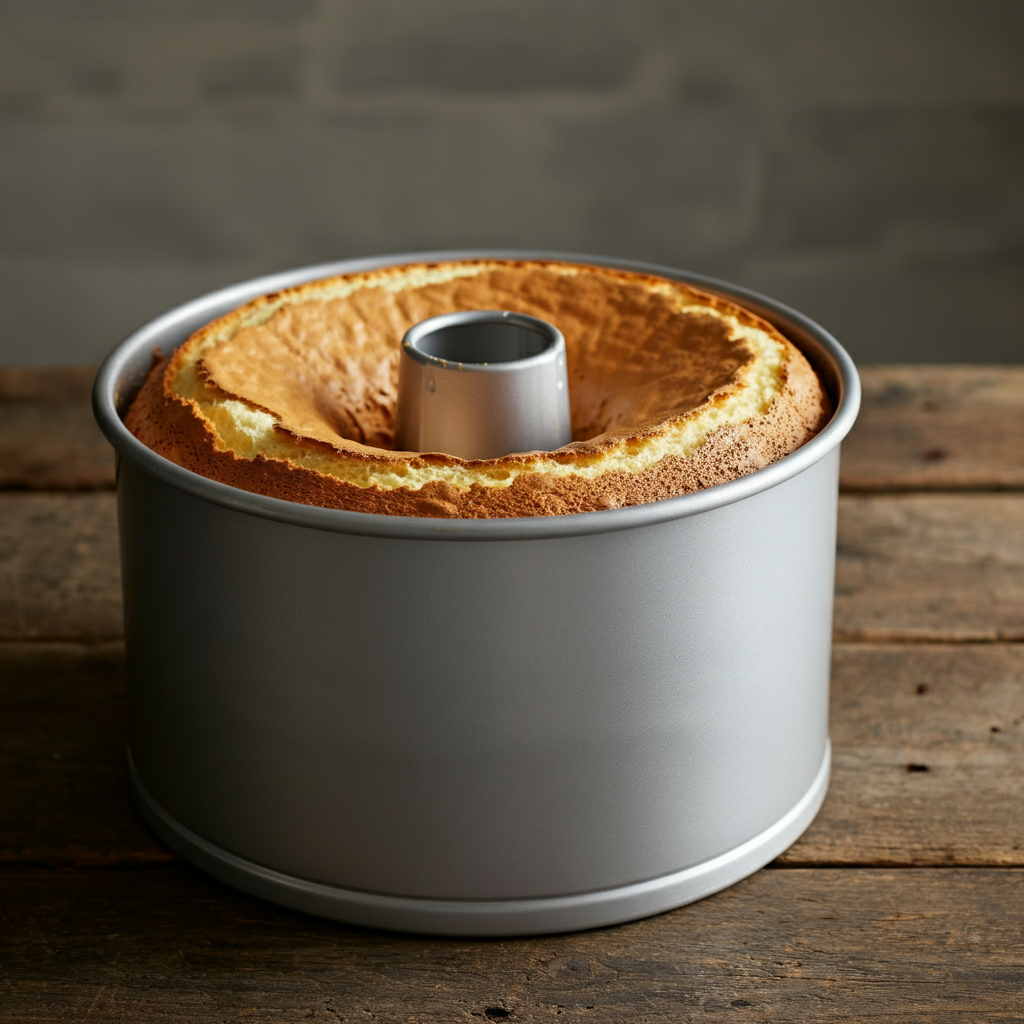
If you’ve heard of an angel food cake but always wondered what makes the pan different, you’re about to find out. These pans aren’t your typical bakeware objects; they’re purpose-built to create light, airy cakes that feel like biting into a sweet cloud.
 Unique Design and Structure
Here’s the deal—an angel food cake pan isn’t just any round pan. First, it usually has a tube in the middle, which might make you think it looks like a giant donut mold (but don’t eat the pan, please). This hollow core isn’t just for aesthetics or easy slicing; it’s functional. It allows hot air to circulate through the center of the cake, ensuring even baking from the inside out. Genius, right? 😊
Additionally, many pans are made to be ungreased, so the batter clings to the sides during baking. This is crucial for getting that iconic height. Without this design, you might end up with a pancake instead of a cake—a tragic turn of events in any baker’s book.
“An angel food cake pan is like a secret ingredient. It doesn’t just hold your batter, it transforms it from basic to breathtaking.”
Why It’s Different from Other Cake Pans
Alright, confession time—when I first started baking, I thought, “Why do I really need this specific pan? Isn’t a round pan good enough?” Oh, how wrong I was. Angel food cake pans are tall and sturdy, designed to handle the delicate, foam-like batter of this cake. Regular pans, while great for denser cakes like chocolate or vanilla, just can’t offer the same support.
The removable bottom in many angel food cake pans might make you think What’s this contraption? But trust me, once your cake is beautifully baked and cooled, you’ll appreciate how easily you can remove it without mangling your masterpiece!
How to Choose the Best Angel Food Cake Pan
Picking the right angel food cake pan might seem overwhelming with all the options out there. But don’t worry, we’re breaking it down for you so you can feel confident in your choice. It’s a bit like picking the perfect pair of shoes; it has to fit your needs, perform well, and yeah, last long enough for repeat uses. 😉
Material Matters: Aluminum vs. Nonstick
Aluminum pans are the OG choice for angel food cakes. Why, you ask? Because aluminum distributes heat evenly, helping your cake bake to perfection. Plus, the “cling factor” is optimal—exactly what you want for this type of dessert. On the flip side, nonstick pans are a bit more modern and make cleanup a breeze. But here’s the catch—nonstick can sometimes prevent the batter from sticking as it should. It’s a fine balance between ease of use and getting divine results.
If I had to pick a side, I’d say aluminum edges out the competition for getting that perfect airy texture. But hey, if nonstick is what you have, you can still work some baking magic! 🤷♀️
“Think of an aluminum angel food cake pan as an old-school pro and a nonstick pan as a modern multitasker. Both have your back, but their styles are a little different.”
Size and Capacity Considerations
Before you grab the first pan you see, ask yourself—how much cake do I really want to make? If you’re baking for a crowd, go for a full-sized pan (10–12 inches typically). But if it’s just for a small family treat (or a personal indulgence—no judgment here!), a mini-tiered pan could be your new best friend.
And don’t forget to check the pan’s depth. A shallower pan won’t give you that towering, fluffy cake you’re after. Trust me, size truly matters when it comes to angel food cake pans.
Tube vs. Flat-Bottom Pans
Here’s where the nerdy details come in—tube pans are your classic choice and, frankly, a must for angel food cakes. The central tube allows the batter to cling and rise properly. Flat-bottom pans, while great for denser cakes, lack this key component. If angel food cake perfection is what you’re chasing, stick with the traditional tube design. You’ll thank yourself later.
Common Problems When Using an Angel Food Cake Pan
Alright, so you’ve got your shiny angel food cake pan in hand, and you’re ready to bake your first cake. But then… disaster strikes. 😱 Maybe the cake won’t come out of the pan, or it collapses into a sugary blob. Don’t worry—we’ve ALL been there. Baking is a learning curve (and sometimes a workout for your patience).
Here’s a breakdown of the most common issues you might face and why these hiccups happen in the first place. Better yet, I’ve got your back with solutions a little later on. 😉
Cakes Sticking to the Pan
You’d think the pan would understand it’s supposed to help you out, right? But nope—cakes sticking to the angel food pan is super common. This pan isn’t like your regular bakeware that gets a generous coating of butter or spray.
Because you’re specifically not supposed to grease the pan, you might feel like the universe is conspiring against you when your cake refuses to budge. The batter needs to stick so that it can climb up the walls during baking. That’s part of the magic. But after baking? That’s where things can get sticky (pun intended).
“Angel food cakes are like introverts—they want their space, and forcing them out too fast can lead to disaster.”
Uneven Baking Issues
Ever taken out your cake and realized it’s golden brown on one side and pale on the other? Or the dreaded soggy middle? Uneven baking is another bump in the road when working with angel food cakes.
This can happen if your oven doesn’t distribute heat evenly, or if you placed the pan too close to a heat source. It’s also possible that the batter wasn’t mixed quite right, leaving you with some heavier patches.
Cake Collapse After Baking
You’ve followed every step, the cake looks gorgeous in the oven, and then—you see it shrinking like a popped balloon. Why does this happen? 😩
Cake collapse is often due to improper cooling. Angel food cakes are delicate little divas, and they need extra care when it comes to cooling. If you don’t cool it upside down, gravity does its thing, and the cake can slump in on itself.
Sometimes using the wrong flour or not whipping your egg whites enough can weaken the cake’s structure, causing it to crumble. Baking angel food cake is basically like constructing an edible skyscraper—if the foundation’s not solid, well, down it goes.
Solutions to Angel Food Cake Pan Challenges
Now that we’ve covered what can go wrong, let’s talk about the fun part—fixing it! Trust me, with some simple tips and tricks, you’ll feel like a total baking pro. 🧁
Proper Greasing Techniques (or Lack of Greasing!)
Remember earlier when I said you shouldn’t grease the pan? I wasn’t kidding. But that doesn’t mean you just throw caution to the wind. One trick to solve stickiness is using a good-quality pan with that slightly coarse aluminum texture. If the batter grips it well during baking, you’re less likely to hit a sticky situation afterward.
When it’s time to release the cake, use a knife or spatula to gently separate the cake from the edges. This step is all about patience—don’t rush it!
Ensuring Even Heat Distribution
If uneven baking has frustrated you in the past, here’s how you fix it. First off, always place your angel food cake pan on the middle rack. That’s the sweet spot for most ovens and ensures the heat circulates evenly. And always preheat your oven—no shortcuts here, folks!
Not sure if your batter is causing issues? Take a moment after you’ve placed it in the pan to lightly tap the pan on the counter. This removes any sneaky air bubbles that might lead to uneven baking later.
“Angel food cake is a balancing act—getting everything just right can feel like juggling, but the delicious payoff is 100% worth it.”
Cooling the Cake Upside-Down Properly
This might surprise you, but cooling your angel food cake upside down is not optional. It’s critical for maintaining that lofty, fluffy texture. Most angel food cake pans come with little “feet” on the edges, letting you flip the pan onto a flat surface.
Don’t have a pan with feet? Grab a trusty bottle or can (think soda or wine bottles) and rest the center tube over it. The cake will hang upside down like a gymnast on a balance beam and stay perfectly intact as it cools.
Oh, and one last thing—don’t try to remove the cake until it’s completely cool. I get it, the temptation to dig in is real. But patience here prevents crumbles and cracks in your labor of love.
 Step-by-Step Guide to Baking with an Angel Food Cake Pan
Alright, so now it’s game time. You’ve got your pan, and you’ve mastered the common challenges—now it’s time to actually bake the cake! Are you excited yet? Because I totally am! 🍰 Baking with an angel food cake pan can feel a little different from using a standard pan, but once you’ve got the steps down, it’ll become second nature. And guess what? I’ll walk you through each step—no stress allowed. 😊
Preparing the Batter for Success
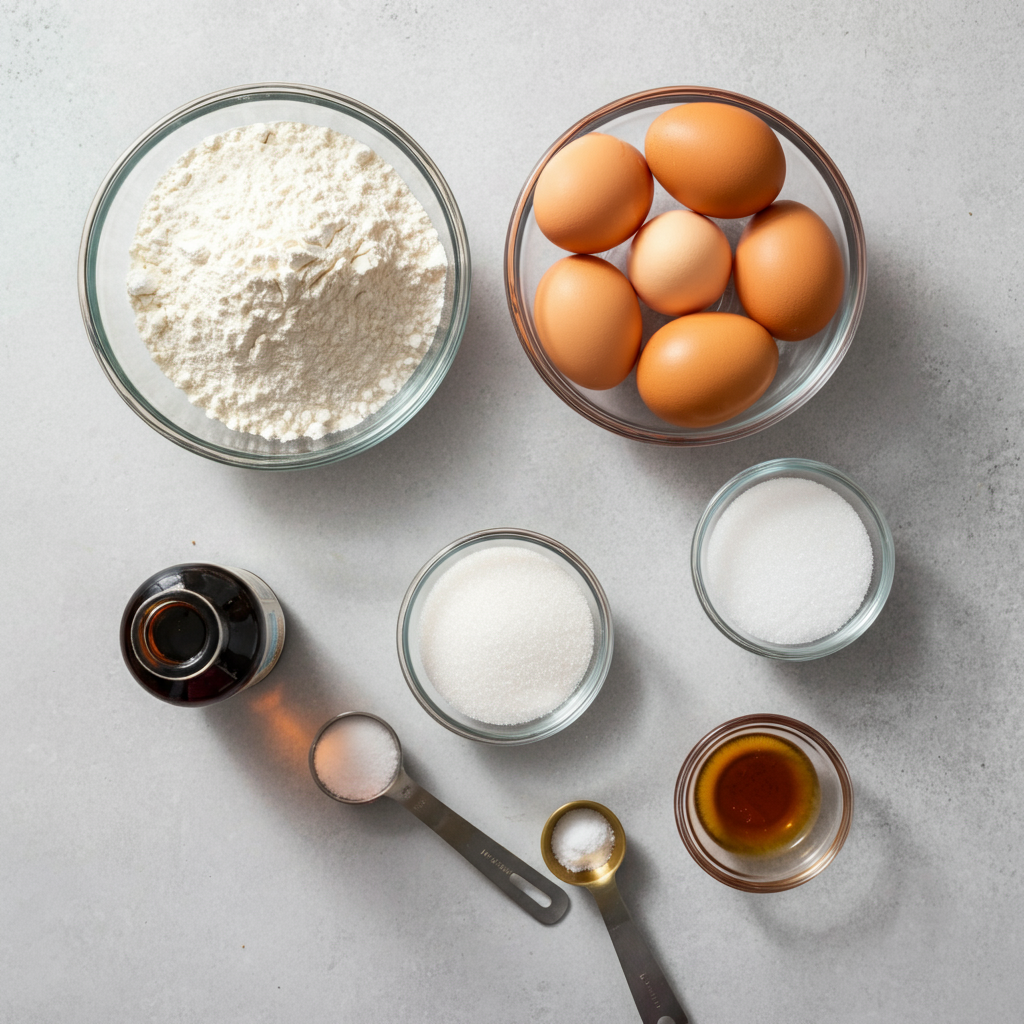
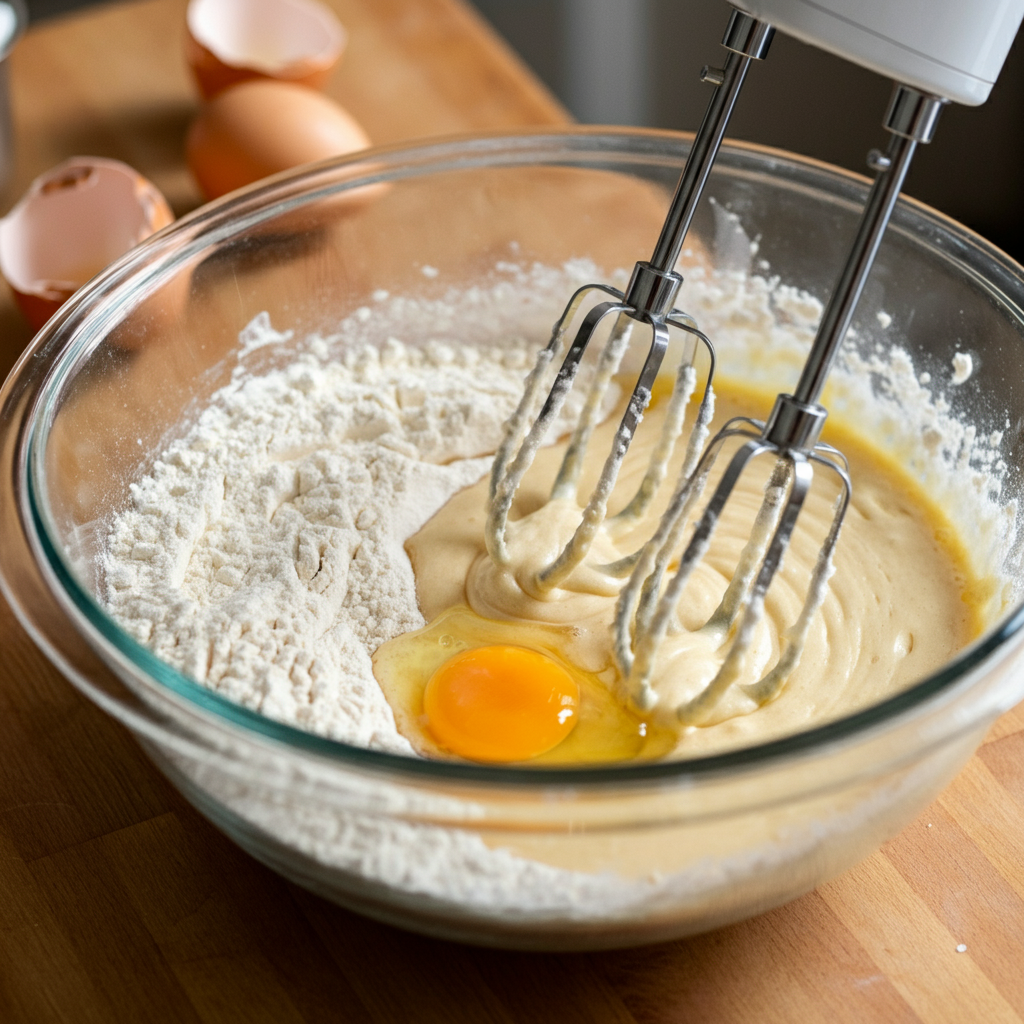
First things first—angel food cake batter is a bit of a diva (but that’s what makes it so special). You’re working with a light, airy foam batter that relies entirely on whipped egg whites for its structure. That means every whisk, every fold, and yes, even every bowl you use, matters.
Here’s the golden rule to start with—your tools must be squeaky clean. Egg whites are sensitive to even the tiniest drop of oil or moisture, so make sure your mixing bowl and whisk are spotless. (Trust me, skipping this step will make your batter weep—and we don’t want that.)
Whip those egg whites until they form soft, fluffy peaks, then gradually add your sugar. Pro tip? Add sugar slowly and patiently—it’s like forming a friendly relationship. Rushing might overwhelm your egg whites, and nobody likes to rush a good thing.
“Think of whipping egg whites like building a cloud—you can’t rush beauty, and patience will give you the perfect, fluffy texture.”
Once your egg whites are whipped to perfection, it’s time to fold in the dry ingredients. Be gentle, like you’re tucking a baby into bed. Overmixing is a no-no—keep those air bubbles intact for a heavenly cake.
 Mastering the Bake Time
Okay, batter is ready—but what about baking? You’ll pour that cloud-like batter into your angel food cake pan, making sure not to grease it (we’ve talked about why already, right?). Use a spatula to spread it evenly, so it’s set up for success.
Pop it in the oven, but here’s the thing—don’t walk away without setting a timer! Angel food cakes thrive on low, slow baking, usually around 325°F to 350°F. Bake it too fast, and you risk a cake catastrophe. And hey, resist the urge to open the oven door constantly. I know—waiting can feel like torture, but you don’t want to mess with the oven temperature while your cake is hard at work.
How do you know it’s done? The top will be golden brown and might even have cracks (don’t freak out, that’s normal). Touch it lightly—it should spring back to the touch like a little cake trampoline. 🎂
Removing the Cake Without Damage
Alright. Deep breaths. The baking part is done, but now you need to get your gorgeous cake out of the pan without ruining it. This is the part where it feels like performing delicate surgery, but I promise you’ve got this.
Step one? Flip the pan upside down immediately after removing it from the oven. Use those handy pan feet or balance the center tube on a bottle. This step is critical—if you skip it, all those beautiful air bubbles in your cake will collapse faster than a deck of cards.
Once the cake is completely cool (yes, patience again!), grab a thin knife or spatula and carefully loosen the edges. Don’t rush—we’re aiming for elegance here. Slide the bottom out, gently free the cake, and voilà! You’ve just created edible perfection.
“Removing an angel food cake is like freeing a butterfly from its cocoon—it takes care, precision, and a dash of confidence.”
Versatile Uses of an Angel Food Cake Pan
But wait—angel food cake pans aren’t just one-trick ponies! You can actually do more with these amazing pans in the kitchen.
Beyond Angel Food Cake: Other Recipes to Try
Feeling adventurous? After you’ve mastered angel food cake, why not try other recipes in your pan? Think chiffon cakes, pound cakes, or even light sponge cakes. The structure of the pan lets the batter cook evenly, so it’s perfect for similar delicate recipes.
Creative Non-Baking Uses
Now, this is where things get fun. Your angel food cake pan can be a surprising star outside of baking. Use the hollow tube to evenly roast a chicken (yes, really!). Or go all-out creative and use it as a funky popcorn bowl. Why not? A little outside-the-box thinking can make your trusty pan indispensable.

